


In this guide, learn how to create custom branding themes for your TidyEnterprise account
Want to view this guide all at once?
Download PDFHow To Customise Invoice Branding Themes
The appearance and content of invoice and quote documents sent from Tidy are managed through your Xero Branding Themes.
Branding Themes allow you to customise document layouts, including:
Note: Branding Themes are managed entirely within Xero. If you need to update your logo, website address, cover letter, or document layout, these changes must be made in Xero before refreshing the Branding Themes in Tidy.
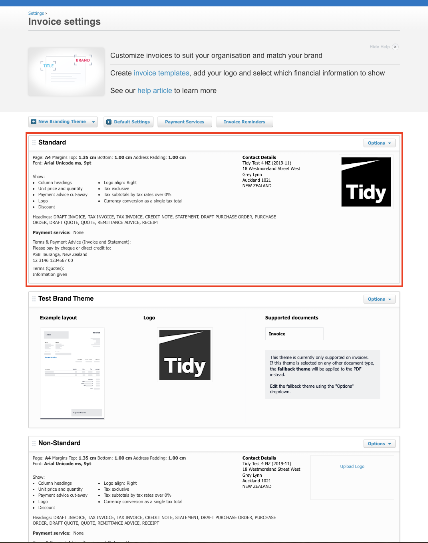
Step 1: Open your Branding Themes in Xero
Log in to Xero and navigate to:
Sales → Sales Settings → Invoice Settings
Alternatively, you can access the page directly via:
https://go.xero.com/InvoiceSettings/InvoiceSettings.aspx
From here you can edit an existing Branding Theme or create a new one.
Step 2: Update your Branding Theme
Within the Branding Theme, you can make changes such as:
Once you have saved your changes in Xero, the updated Branding Theme can be used within Tidy.
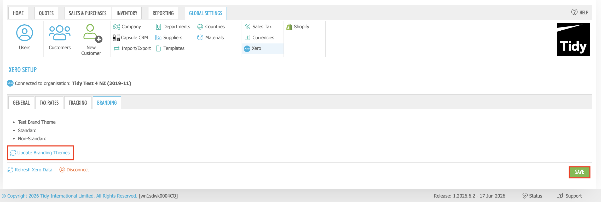
Step 3: Refresh Branding Themes in Tidy
If you have created a new Branding Theme in Xero, you will need to refresh Tidy so it can recognise the new theme.
Navigate to:
Global Settings → Xero → Branding
Click Update Branding Themes and then Save.
Step 4: Select a Branding Theme on a Sale
When creating or editing a Sale, you can choose which Branding Theme should be used by selecting it from the Branding Theme drop-down menu.
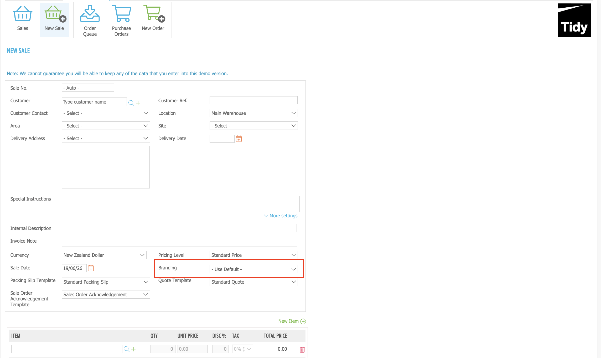
Select the Branding Theme you would like to use.
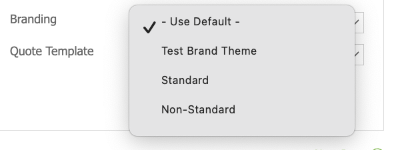
Using the Default Branding Theme
If the Branding Theme field is left blank in Tidy, Xero will automatically use the default Branding Theme (the first theme listed in Xero).
In the example below, "Standard" appears at the top of the list, making it the default Branding Theme that Xero will use when no Branding Theme is selected in Tidy.
Want to learn more? Check out these related guides


